Instructions
This guide is here to give you basic instructions and help you understand the GSAP animations that were created using code in case you want to make edits to it.
1. Getting Started
Introduction
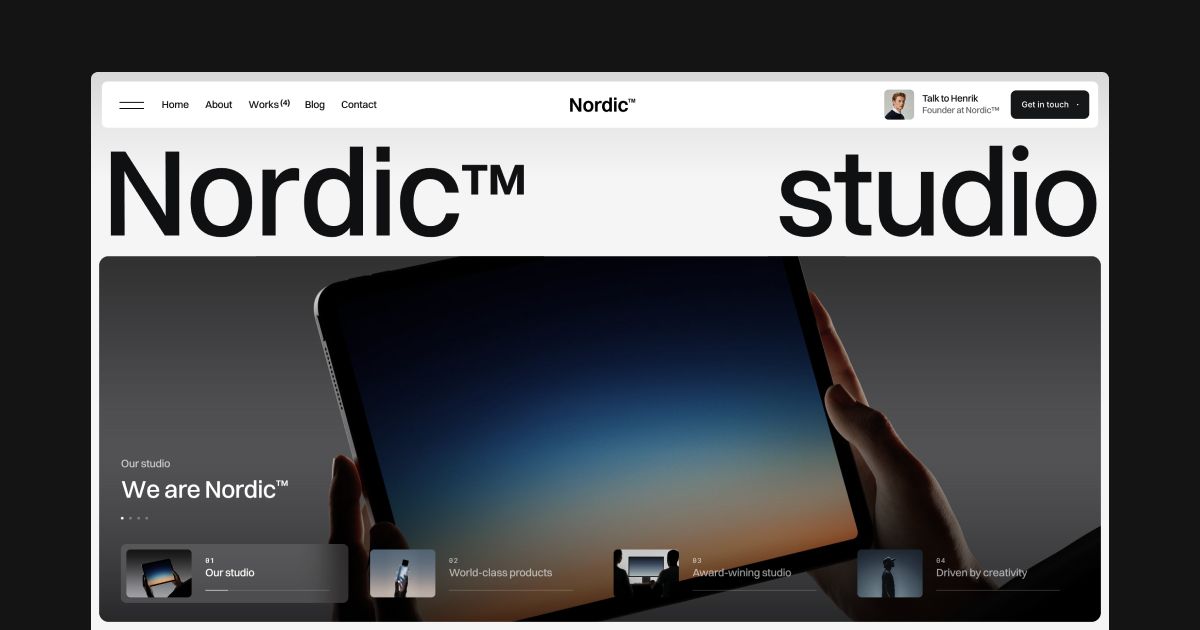
Nordic is a refined Webflow template crafted for bold studios and visionary teams. Featuring a high-contrast design system, seamless scroll animations, and editorial-inspired layouts, it’s made to elevate portfolios with precision and confidence. This template includes 6 polished pages — from pitch-ready case studies to studio insights — helping you present your work with authority.
Webflow basics
If you're new to Webflow, we recommend watching the Getting Started with Webflow course on Webflow University. It covers the essential tools and concepts you'll need to confidently use and customize this template.

2. Image trail animation (GSAP)
This part explains how to manage and customize the CTA mouse trail animation included in the template. You’ll learn how to update the images used in the effect, add the section to new pages, adjust the animation behavior, and safely modify the component without breaking its functionality.
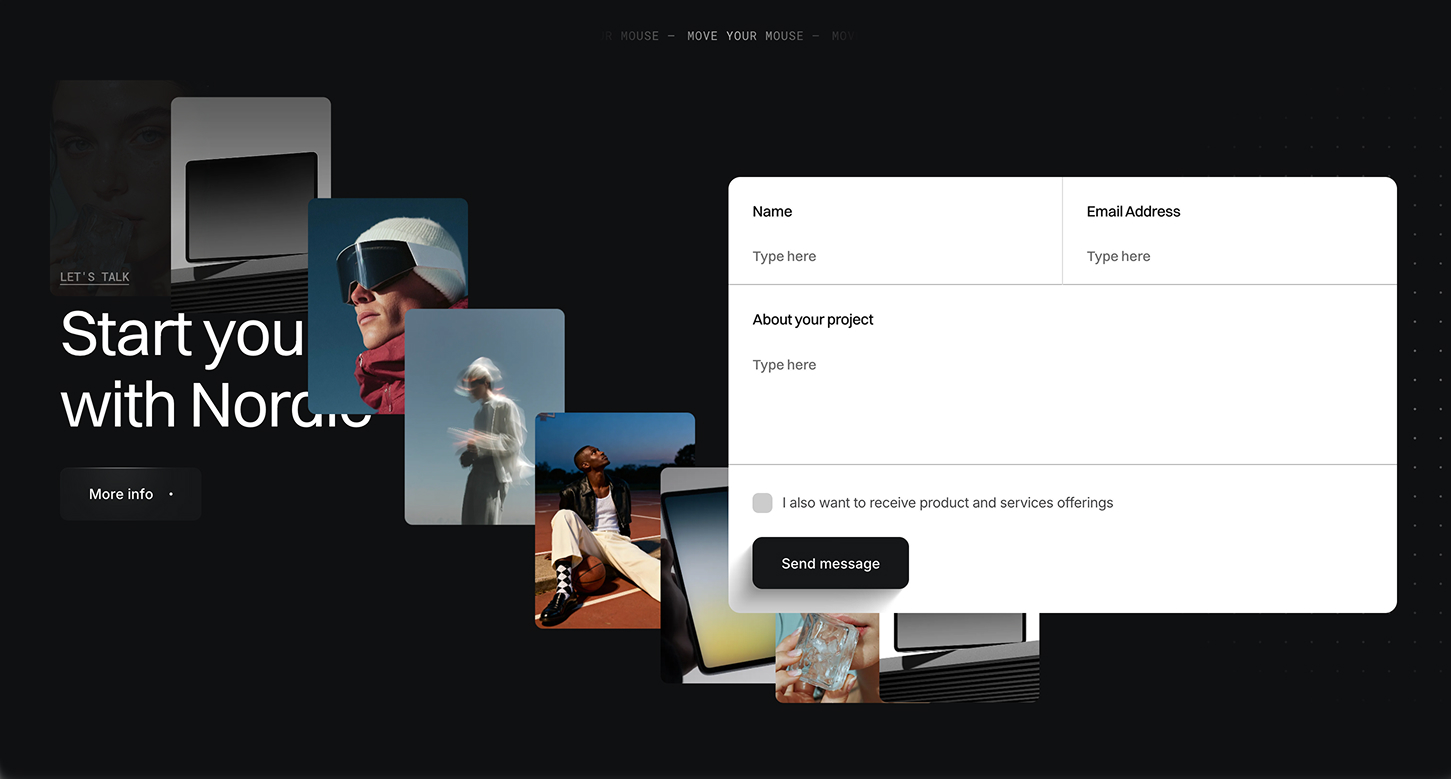
Updating the images
To change the images used in the animation:
- Open the CTA section component in Webflow by double-clicking the component on a page.
- Use the Navigator panel to locate the element named
.interaction_cms_list. - Inside it, you’ll find several
.interaction_cms_itemelements, each containing an image with the class.interaction_cms-img_img. - Select any image, go to the Settings tab in the right sidebar, and click Replace image to upload a new one.
- To add more images, simply duplicate any
.interaction_cms_itemand update the image inside.
⚠️ The animation cycles through these images in order, so more images = more variation.
Adding the section and activating the animation
To use the CTA animation on another page:
- Add the CTA section component to your page from the Symbols or Components panel.
- Go to the page’s Settings (click the gear icon in the page list).
- Scroll to the Before </body> tag section and paste in the GSAP animation script.
✅ Here is the full animation code in case you need:
1<!-- Mouse trail CTA animation powered by GSAP -->
2<script>
3  $(".section_cta").each(function () {
4    // Select key elements inside each CTA section
5    let visualWrap = $(this).find(".interaction_visual_wrap"); // Container where the image clones will be animated
6    let template = $(this).find(".interaction_img_wrap"); // Image template to clone
7    let cmsItem = $(this).find(".interaction_cms_item"); // All CMS items with images
8    let activeItem = cmsItem.first(); // Start with the first CMS item
9
10    // Function to get the next image URL (loops through CMS items)
11    function getNextUrl() {
12      activeItem = activeItem.next(); // Move to the next item
13      if (activeItem.length === 0) activeItem = cmsItem.first(); // Loop back if at the end
14      return activeItem.find("img").attr("src"); // Return the image URL
15    }
16
17    // Track mouse position (relative to the visual wrap)
18    let xPosition = 0;
19    let yPosition = 0;
20
21    // Mouse move handler
22    $(this).on("mousemove", function (e) {
23      // Get mouse position relative to the visual wrap
24      let wrapOffset = visualWrap.offset();
25      let x = e.pageX - wrapOffset.left;
26      let y = e.pageY - wrapOffset.top;
27
28      let xDistance = xPosition;
29      let yDistance = yPosition;
30
31      // Only trigger animation if mouse moved significantly
32      if (Math.abs(xPosition - x) > 120 || Math.abs(yPosition - y) > 100) {
33        xPosition = x;
34        yPosition = y;
35
36        // Clone the image template and append to the visual container
37        let imageWrap = template.clone().appendTo(visualWrap);
38        imageWrap.find("img").attr("src", getNextUrl()); // Set image source
39
40        // Create GSAP timeline animation
41        let tl = gsap.timeline({
42          onComplete: () => { imageWrap.remove(); } // Remove the clone after animation completes
43        });
44
45        // Fade in the image clone
46        tl.fromTo(imageWrap, { opacity: 0 }, { opacity: 1, duration: 0.1 });
47
48        // Animate movement from previous to current mouse position
49        tl.fromTo(
50          imageWrap,
51          { x: xDistance, y: yDistance },
52          { x: xPosition, y: yPosition, duration: 0.75, ease: "power2.out" },
53          "<" // Start at same time as previous animation
54        );
55
56        // Fade out the image
57        tl.to(imageWrap.find("img"), { opacity: 0, duration: 0.2 });
58      }
59    });
60  });
61</script>
Disabling the animation (optional)
If you want to temporarily disable the animation but keep the code:
- Wrap the entire script in an HTML comment like this:
1<!--
2ALL THE CODE HERE
3-->
This will stop the animation from running but retain the code for later use.
Classes you should not change
To ensure the animation works correctly, do not rename or remove the following classes:
.section_cta.interaction_visual_wrap.interaction_img_wrap.interaction_cms_list.interaction_cms_item.interaction_cms-img_img
❗Changing these class names may break the functionality of the script, since they are directly referenced in the code. We recommend you not changing any class inside the component to avoid bugs on the animation.
Customizing the animation behavior
You can fine-tune the animation by editing values inside the script:
- Opacity fade in/out:
opacity: 0 → 1and back to0 - Movement speed:
Adjustduration: 0.5to increase or decrease how quickly the image moves - Trigger distance:
The lineMath.abs(xPosition - e.pageX) > 100controls how far the mouse must move before a new animation is triggered
🛠 Feel free to experiment with values to match your site’s motion style. Just keep a backup of the original if needed.
3. Services marquee (GSAP)
The services section at the Homepage features a vertically scrolling services marquee powered by GSAP (as code). As each service title reaches the center of the list, it becomes active and automatically updates the accompanying description and image. The animation creates a smooth, editorial-style storytelling experience, guiding attention through each service while keeping content and visuals perfectly in sync.

✅ Here is the full animation code in case you need:
1<!-- Services vertical marquee (GSAP) opaciting work-->
2<script>
3// set variables
4let items = $(".marquee_item");
5let textItem = $(".marquee_text-item");
6let wrap = $(".marquee_wrap");
7let imageItem = $(".marquee_image");
8let totalItems = items.length / 2 + 1;
9let duration = totalItems * 3.2;
10
11// switch which item is active
12function makeItemActive(myIndex) {
13  items.removeClass("is-active");
14  $(".marquee_list").each(function (index) {
15    $(this).find(".marquee_item").eq(myIndex).addClass("is-active");
16  });
17  textItem.removeClass("is-active");
18  textItem.eq(myIndex).addClass("is-active");
19  imageItem.removeClass("is-active");
20  imageItem.eq(myIndex).addClass("is-active");
21}
22makeItemActive(3);
23
24// check if item is in center of wrapper
25function checkPosition() {
26  let wrapCenter = wrap.offset().top + wrap.height() / 2;
27  items.each(function (index) {
28    let itemHeight = $(this).height() / 2;
29    let offsetTop = $(this).offset().top + itemHeight;
30    if (offsetTop < wrapCenter + itemHeight / 2 && offsetTop > wrapCenter) {
31      let myIndex = $(this).index();
32      makeItemActive(myIndex);
33    }
34  });
35}
36
37// create vertical loop
38let marquee = gsap.timeline({ repeat: -1 }).fromTo(
39  ".marquee_track",
40  { yPercent: 0 },
41  {
42    yPercent: -50,
43    duration: duration,
44    ease: "none",
45    onUpdate: () => {
46      checkPosition();
47    }
48  }
49);
50</script>
How to update services (name, description, and image)
This section is fully connected to the Webflow CMS. Here is how to update:
- Open the Services CMS collection.
- Each item controls one service in the animation.
- Edit the name, description, and image fields.
- Save the items to apply your changes
Animation speed
The content change speed is controlled by the GSAP timeline.
- Open the page settings and locate the GSAP marquee script.
- Find the line that defines the duration:
let duration = totalItems * 3.2; - Lower the value (
3.2) to make the animation faster. - Increase the value to make the animation slower.
- Publish the site to apply changes.
Disabling the animation (optional)
If you want to temporarily disable the animation but keep the code:
- Wrap the entire script in an HTML comment like this:
1<!--
2ALL THE CODE HERE
3-->
This will stop the animation from running but retain the code for later use.
Classes you should not change
To ensure the services marquee animation works correctly, do not rename or remove the following classes:
.marquee_wrap.marquee_track.marquee_list.marquee_item.marquee_text-item.marquee_image.is-active
❗Changing these class names may break the functionality of the script, since they are directly referenced in the code. We recommend you not changing any class inside the component to avoid bugs on the animation.
Lenis smooth scroll
This template uses Lenis to create a smooth, modern scrolling experience across all pages. Lenis replaces the browser’s default scroll behavior with a more fluid and refined motion, enhancing the feel of animations and transitions throughout the site.

This is handled entirely through custom code added in your Site Settings.
Where the code is added
Head tag
In your Webflow Site Settings, under the Custom Code → Head section, the following code loads the Lenis script and stylesheet:
<!-- Lenis script and styles -->
<script src="https://unpkg.com/lenis@1.3.4/dist/lenis.min.js"></script>
<link rel="stylesheet" href="https://unpkg.com/lenis@1.3.4/dist/lenis.css">
This makes the Lenis library available globally across your project.
Before </body> tag
Also in Site Settings, scroll to the Custom Code → Before </body> tag section and you'll see the initialization script:
<!-- Lenis setup -->
<script>
// Initialize Lenis
const lenis = new Lenis({
  smooth: true,
  lerp: 0.1,
  wheelMultiplier: 1,
  infinite: false,
});

// Use requestAnimationFrame to continuously update the scroll
function raf(time) {
  lenis.raf(time);
  requestAnimationFrame(raf);
}

requestAnimationFrame(raf);
</script>
This script starts the smooth scrolling effect and keeps it running as the user interacts with the page.
How to disable the animation (optional)
To temporarily disable Lenis without deleting your code:
- Comment out both script blocks like this:
<!--
ALL THE CODE HERE
-->
This will stop the animation from running but retain the code for later use. You can also just delete the entire code and put it back again if you want to have the smooth scroll in the future.
How to adjust the scroll speed
The scroll behavior can be fine-tuned inside the second script:
lerp: 0.1,This controls how smooth and slow the scroll feels:
- Lower values (e.g.
0.05) = slower and smoother - Higher values (e.g.
0.2) = snappier and faster
You can also tweak:
wheelMultiplier: 1,This controls how sensitive scroll input is on the mouse/touchpad. Increase the value to make it scroll farther with each scroll input.
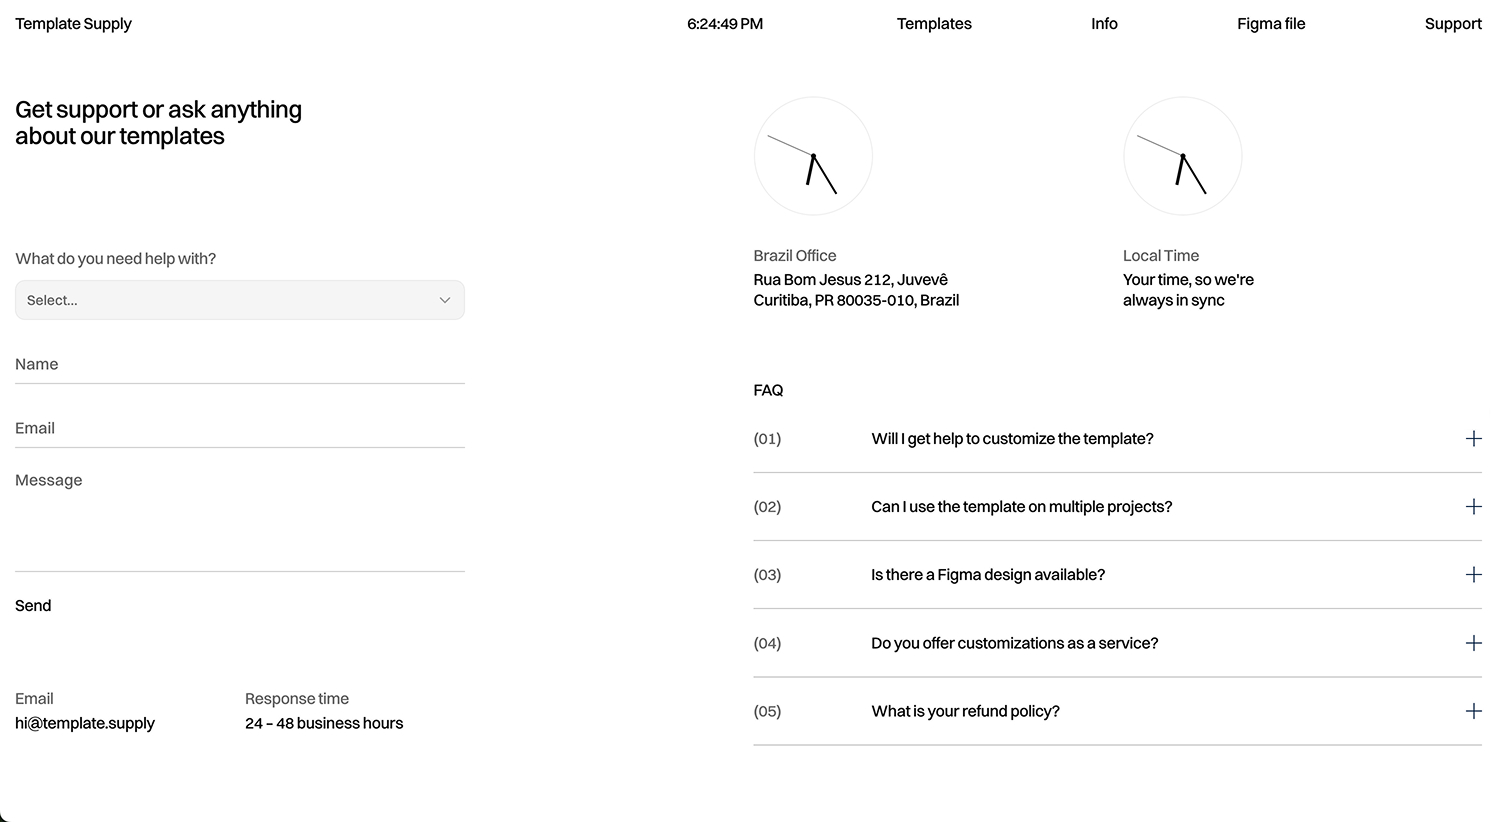
Support
If you run into any issues or have questions while customizing the template, feel free to reach out. We are here to help! Just send a message through the support form on our website, and we’ll get back to you as soon as possible.